 LOT 9B
Photoshop panel · 11 profiles
LOT 9B
Colour profiles and a retouching panel built from the way I actually grade. Pick a look, press apply, then run the actions in order until the image sits where you want it.
Try the panel
This is the actual panel, running on the page. Pick a profile, press Apply Profile, then work the rows below it. Profiles are rendered through the real colour LUTs at 100% strength, so they can look strong — pull the amount back in Camera Raw for a softer result. The grain, fade and colour rows are approximations; in Photoshop they are real actions. CHROMA BLOOM, CREAMY BACKGROUND, CAERULEUS and CRASSUS V2.1 are variations of these looks, so they aren't previewed separately.
What it does
Three parts that work together: the looks, the panel that applies them, and the retouching actions that finish the image.
The looks
Eleven profiles built in Camera Raw. They live inside the panel, so you can work without installing anything into Lightroom.
The panel
A Photoshop panel under Plugins › LOT 9B. Pick a look, press Apply, and the profile lands on the layer stack.
The actions
Grain, highlights, fade and selective colour. Press once to apply, again to move to the next value, again to switch it off. Effects never stack.
The 11 looks
One of them, LACTEUS WASHED, appears in the panel as CREAMY BACKGROUND — same profile, named for what it's usually used on.
The panel
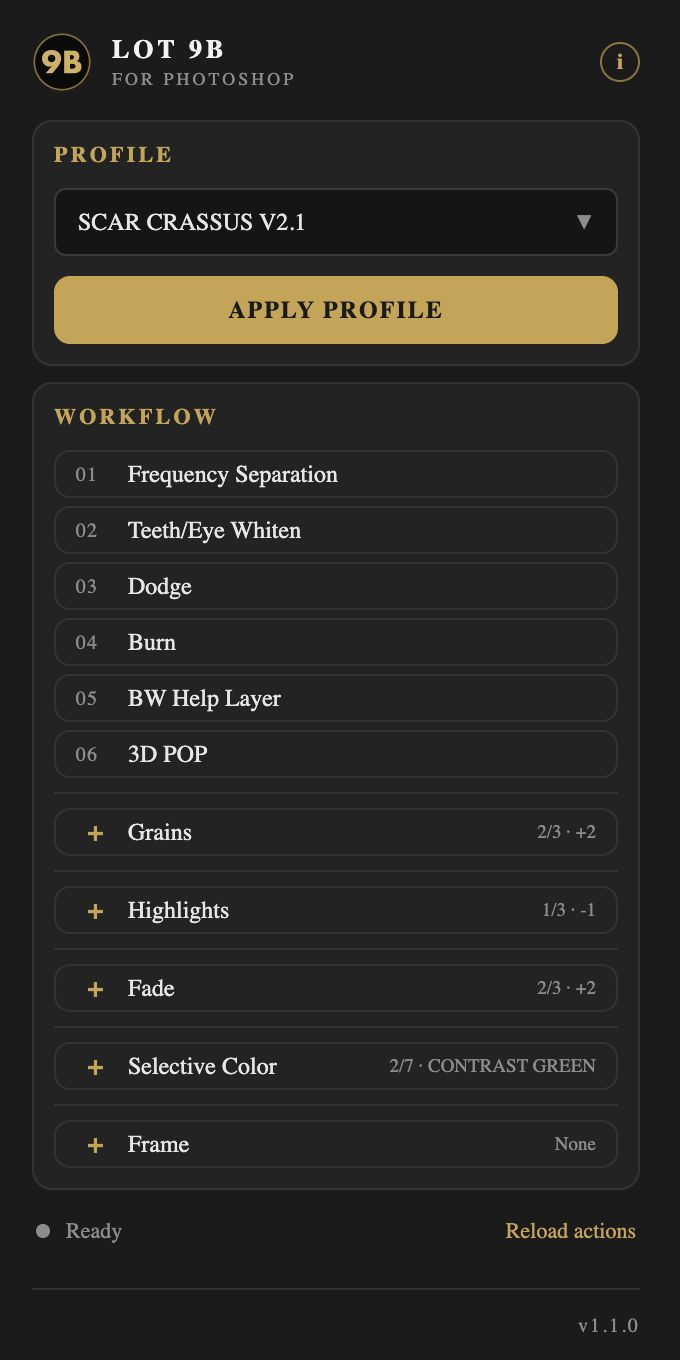
It docks into Photoshop's right-hand panel group. Pick a profile, press Apply, then work down the list — retouch, light, depth, then grain, highlights, fade and selective colour.
Every row shows where you are, so you can cycle back to None without hunting through the layer stack. The effect rows replace themselves rather than stacking, and each one adds an editable layer you can still opacity down afterwards.
Installing it
You need the Creative Cloud desktop app and a current version of Photoshop.
Double-click the plugin file
LOT-9B.ccx installs through Creative Cloud.
Accept the warning
Creative Cloud will say the plugin isn't verified by Adobe — normal for anything installed outside the Marketplace. Choose Install locally and confirm.
Open it in Photoshop
Find it under Plugins › LOT 9B. Drag the tab into your right-hand dock so it stays open while you work.
Optional: profiles in Camera Raw
The looks are already in the panel. Copy the .xmp files into
your Camera Raw settings folder only if you also want them inside Lightroom.
Questions
Do I need to install the profiles separately?
No. The 11 looks are built into the panel. The separate profile files are for having them available directly in Camera Raw or Lightroom.
Will it overwrite my existing actions?
No. On first use it loads two sets — WORKFLOW and
LOT 9B PROFILES — alongside whatever you already have.
Does it work on Windows?
Yes, on macOS and Windows, installed through the Creative Cloud desktop app.
Some actions pause and ask me something.
That's expected — a few of them open a dialog so you can decide the value. Press OK to continue.
Can I use it on a photo I've already edited?
Yes, but work on a copy. Some actions flatten or add layers, and a copy means you can always go back.